My Homelab Part 10: Vaultwarden
January 25, 2024 | 494 words | 3min read
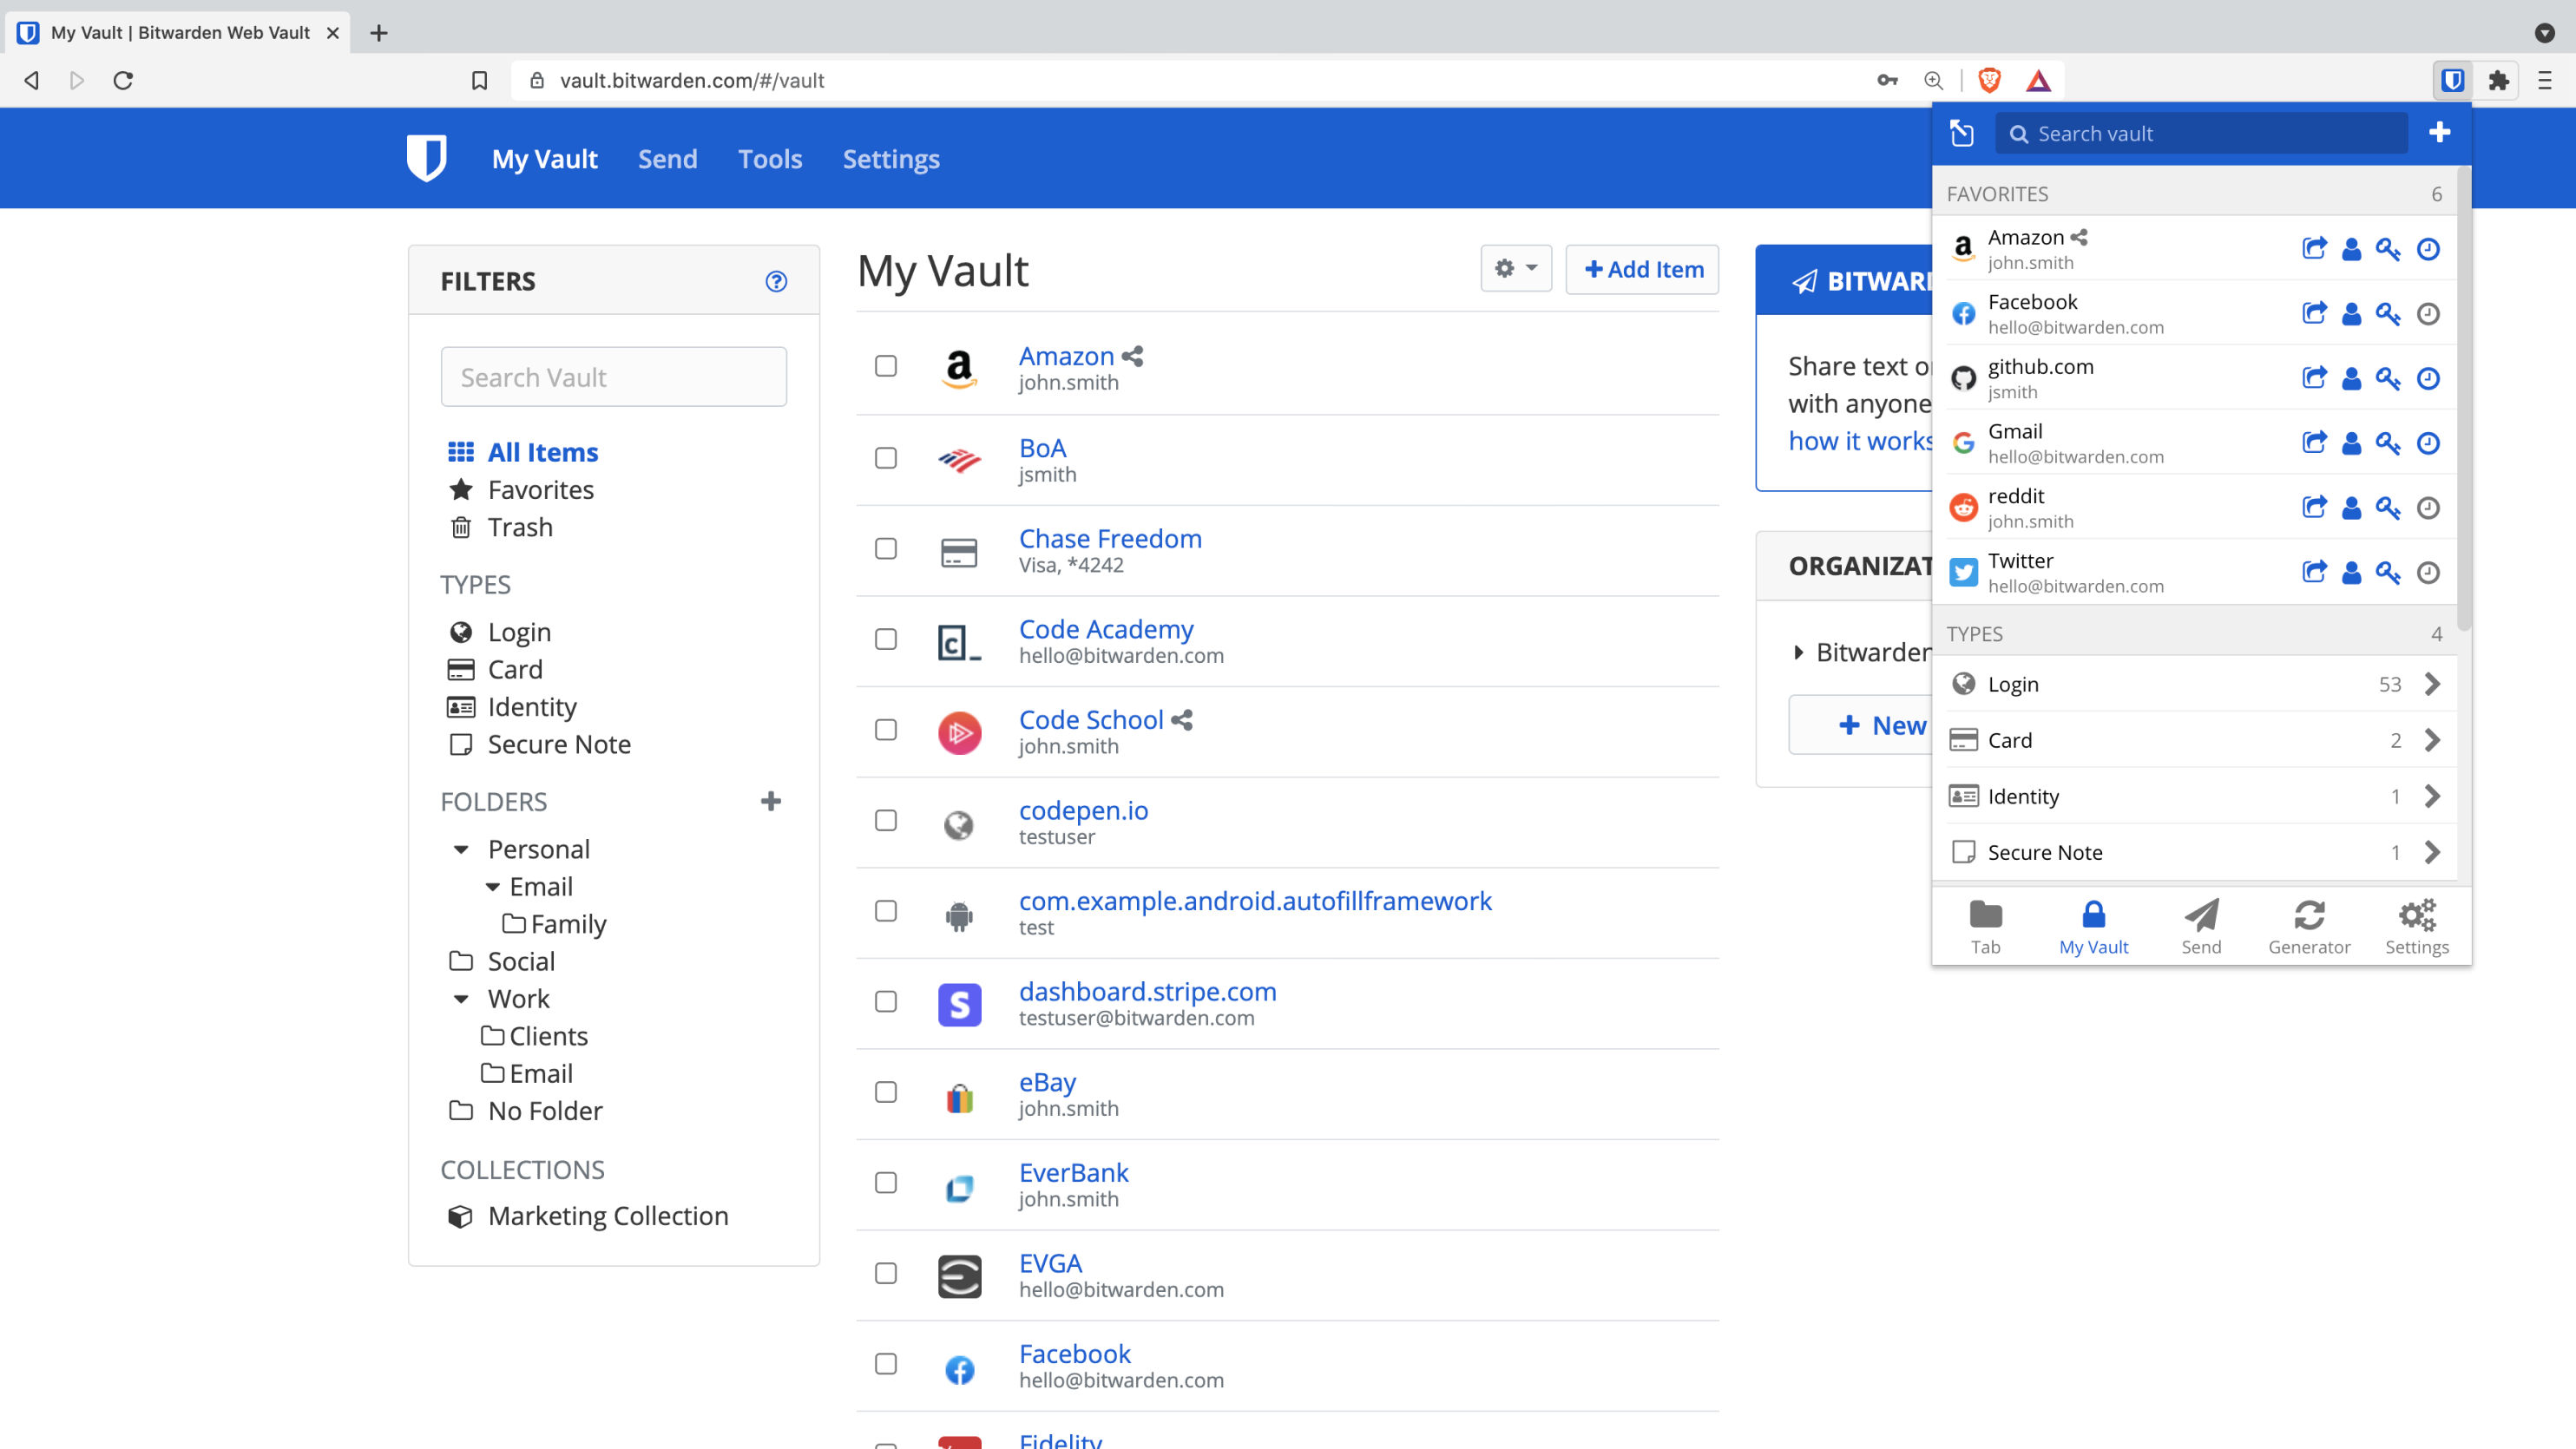
Vaultwarden is an unofficial implementation of the Bitwarden password manager. One of its primary advantages is its lower resource intensity for hosting compared to the official implementation, along with the support of a robust community.

Before adopting Vaultwarden, I relied on the offline password manager KeePassXC. However, it posed challenges with synchronization across multiple devices. For instance, if I altered a password on my phone, I had to transfer the entire password database to my computer to ensure synchronization. In contrast, Vaultwarden streamlines this process by automatically synchronizing password changes across all devices.
Here’s how Vaultwarden operates: the Vaultwarden software is hosted on your server, managing and storing your passwords. Clients can access these passwords by connecting directly to your hosted Vaultwarden website, through the official Bitwarden browser extension, or via the Bitwarden app on a mobile device.

Installation
As with my previous blog posts, I’ll use Docker Compose to install Vaultwarden, employing the following Docker Compose file(vaultwarden-compose.yml):
 1version: '3'
 2services:
 3  vaultwarden:
 4    container_name: vaultwarden
 5    image: vaultwarden/server:latest
 6    restart: unless-stopped
 7    volumes:
 8      - /mnt/externalDisk/vaultwarden/:/data/
 9    ports:
10      - 150:80
11    environment:
12      - DOMAIN=
13      - WEB_VAULT_ENABLED=true
14      - ADMIN_TOKEN=XXXXX
15      - SIGNUPS_ALLOWED=false
16      - EMERGENCY_ACCESS_ALLOWED=true
It’s crucial to note that Vaultwarden deals with sensitive information, requiring a secure connection (HTTPS). In a non-secure connection (HTTP), accessing your password vault won’t be possible. Therefore, I highly recommend following my previous blog post, where I demonstrated how to assign a domain to your internal services for secure internet access. If you’ve followed that guide, remember to update your Caddyfile for this new service:
1vaultwarden.{$DOMAIN} {
2    import tls
3    import header
4
5    reverse_proxy localhost:{$VAULTWARDEN_PORT}
6}
Additionally, starting from version 1.28 of Vaultwarden, the admin token must be hashed. To do that, follow these steps:
Execute the command
docker run --rm -it vaultwarden/server /vaultwarden hashto initiate a temporary Vaultwarden instance for hashing your password.Enter your desired password when prompted.
After receiving the password hash, escape the dollar sign using the command:
1echo "your_password" | sed 's#\$#\$\$#g'Copy the password hash and insert it into your Docker Compose file.
To install Vaultwarden, proceed with these steps:
For the initial run, set
SIGNUPS_ALLOWEDtotrueto create an account. After registration, stop the Vaultwarden container and set this variable tofalse.Don’t forget to set the
DOMAINin the Docker Compose file to your domain.After configuring these variables, start your container using:
1docker compose -f vaultwarden-compose.yml up -dAfter a while, access your Vaultwarden service at
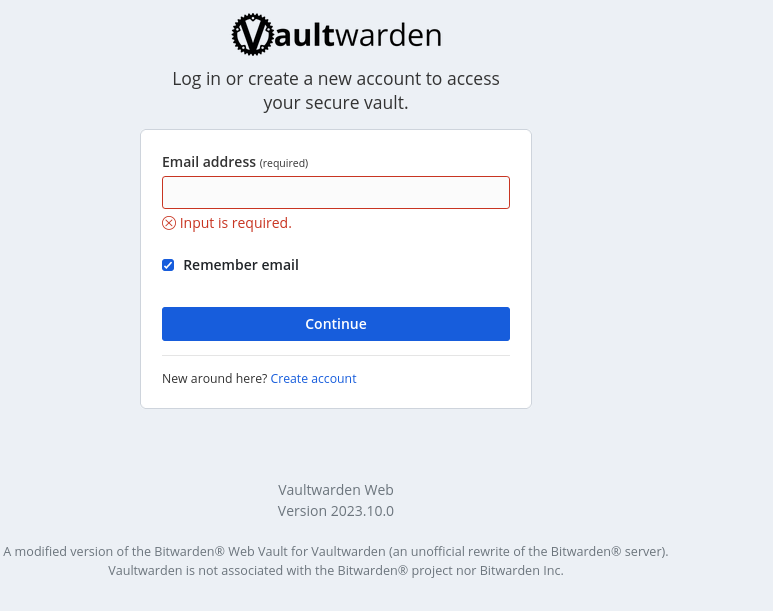
https://vaultwarden.Your_Domain, displaying a page similar to this:
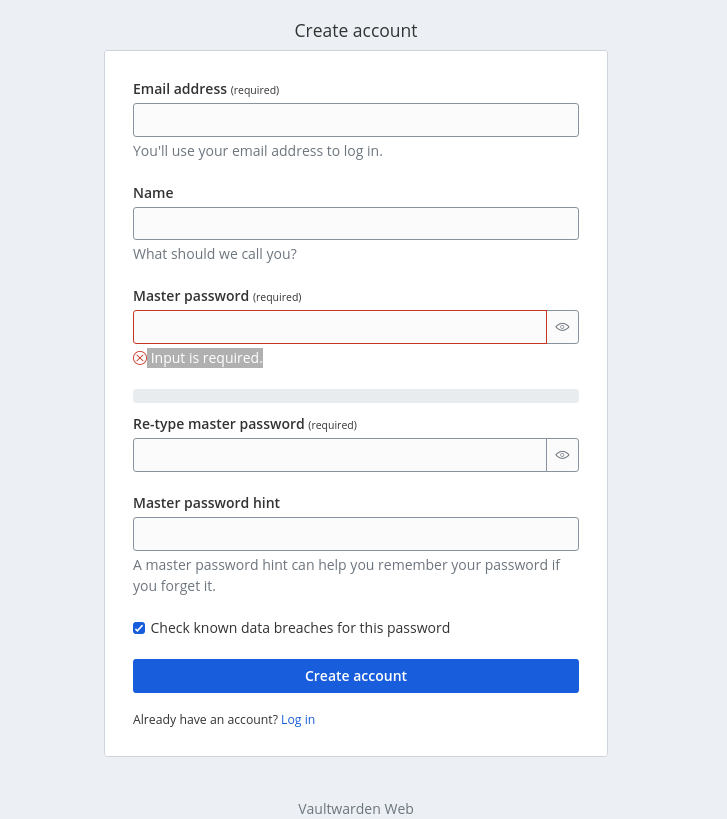
Click “Create account,” leading to the registration page:

After registration, stop the Vaultwarden container, disable sign ups, and restart the container using the following commands:
1docker ps -a
2docker stop vaultwarden_id
Upon restarting the container, you can log in with your registered account. To manage settings, including user accounts, access the admin page at
https://vaultwarden.Your_Domain/admin, requiring your admin token as password.
References:
