My Homelab Part 1: Introduction
December 26, 2023 | 898 words | 5min read
In my previous blog post in the Homelab Series, I shared how the need to maintain a regular sleep schedule led me to the idea of running my own server at home, which I affectionately call my “homelab.” The primary purpose of this homelab is to control the smart lights in my room through Home Assistant.
In this post, I want to provide an overview about the different technologies I employed for running my Homelab.
Hardware
The first thing I needed for my Homelab was the Hardware, specifically a device to host services such as Home Assistant. I considered multiple options, including:
- Raspberry Pi,
- ThinkCentre,
- Old Laptop,
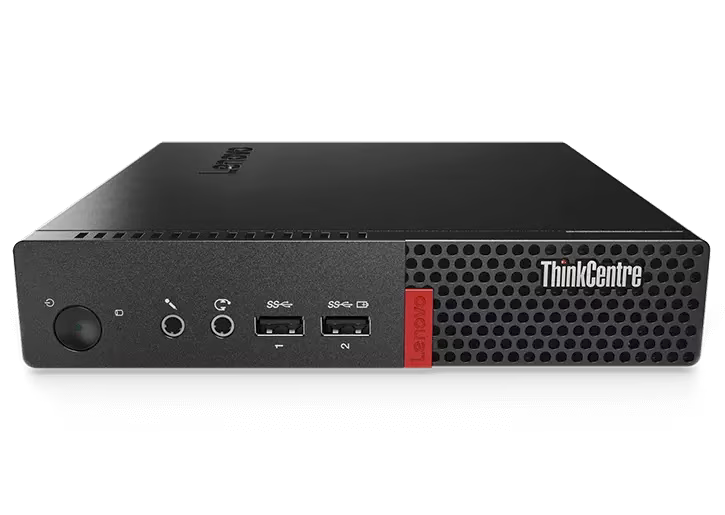
ThinkCentre
ThinkCentre is a line of business-oriented desktop computers developed by IBM and later Lenovo.
ThinkCentre is a line of business-oriented desktop computers developed by IBM and later Lenovo. The reasons I considered ThinkCentre are threefold. Firstly, ThinkCentre has a compact form factor, making them easy to fit into a corner of the room. Secondly, they are cost-effective (often under 100 bucks) when purchased from marketplaces like eBay, as businesses frequently replace and sell off used units. Lastly, due to their age, they are well supported by FOSS software
Old Laptop
I also thought about repurposing an old laptop (approximately 10 years old) as a server, that I had lying around. But ultimately decided against it because of the higher power usage and the risk of the battery catching fire.
If you decide to go this round, I would recommend configuring the laptop to not sleep when the lid is closed.
If you use a Linux based system which uses systemd you can do this by following these steps:Disable Sleep mode on systemd devices
sudo nano /etc/systemd/logind.conf#HandleLidSwitch=suspend #HandleLidSwitchExternalPower=suspend to HandleLidSwitch=ignore HandleLidSwitchExternalPower=ignore
Another aspect to bear in mind, when using a laptop as server, is managing power consumption, especially if the operating system is installed with a desktop environment. Turning off the screen can help save power.
Rasperry Pi
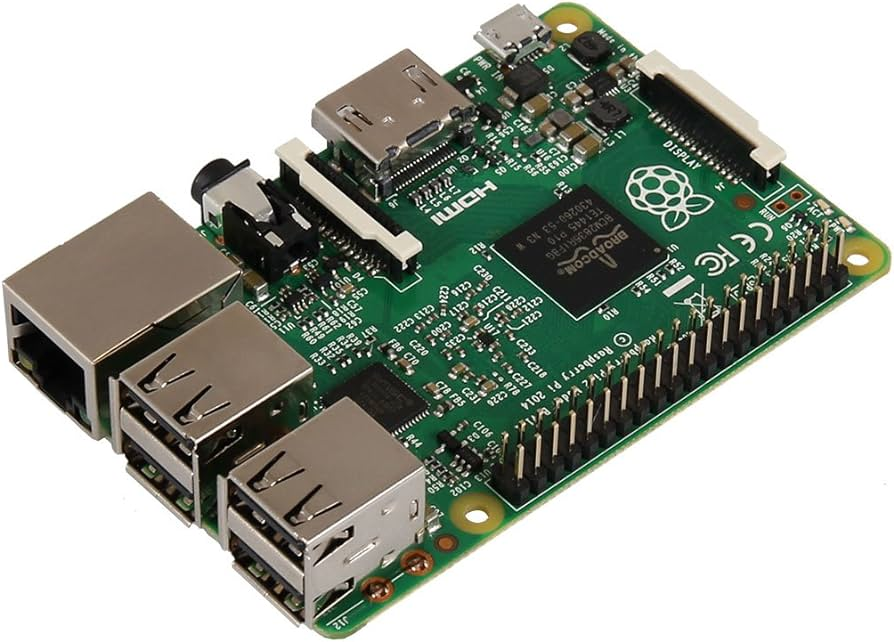
The Raspberry Pi is a mini-computer that utilizes a single-board, incorporating all necessary electronic components onto a single board. It has the advantages of low power consumption), affordability, and being entirely open-source.
Keep in mind that the Raspberry Pi uses a CPU based on ARM architecture, and not all software is compiled for ARM.
In my case, as I had a Raspberry Pi 3 B lying around, I opted to use it as my server.
Operating System
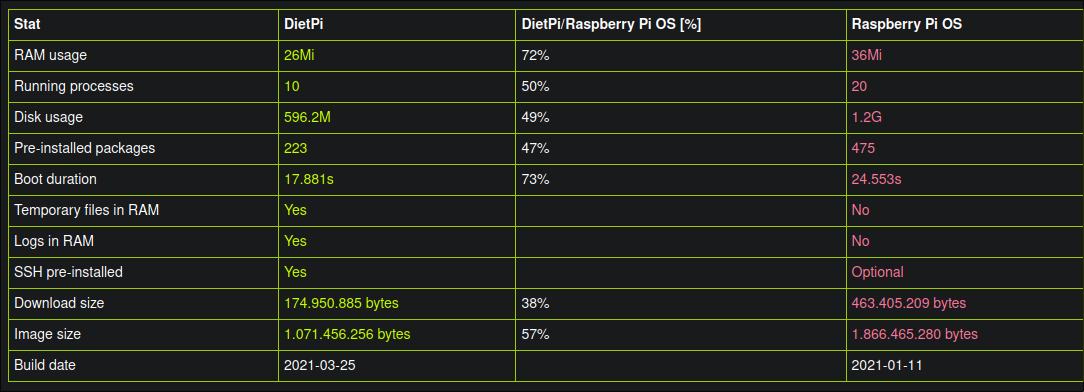
Choosing the right operating system for the server is crucial. Options include Ubuntu Server, headless Debian, or Raspbian for the Raspberry Pi. I decided to use dietpi, a minimal headless operating system that aims to reduce resource consumption by installing only the most essential services.
Here’s a resource consumption comparison between dietpi and Raspberry Pi OS:
Docker
An essential part of my setup is docker, a software that allows users to install other software in containers, virtually isolating them.
One can think about docker as little Virtual Machines, that are way more granular. They isolate a single application/service with all their dependencies, they need to run.
Why would you install a software as a container instead of running it directly bare metal? Docker provides several advantages:
- Increased Security: Each software is containerized, ensuring that if one container is breached, the attacker only gains access to that specific container.
- Modularity: Docker allows for easy maintenance or replacement of a service without affecting others.
- Easy and Fast Deployment: Software deployment is quick and straightforward through a single command.
- Reproducibility and Portability: Docker ensures consistent behavior, even when reinstalled on different machines.
Building my Home Server
I assembled my own Home Server, incorporating the following following:
- 1x Rasperry Pi 3b
- 2x Toschiba Portable 1 TB Disks
- 1x Sonoff Zigbee 3.0 USB Dongle Plus
- 1x Generic Power Strip
- 1x Generic Ethernet Splitter
- 1x Generic Powered USB Hub
- 1x Old Cardboard Box of a Power supply
The Raspberry Pi serves as the main component of the entire server; it acts as the heart responsible for running all the necessary software. Additionally, I have two external hard disks connected via USB to the USB hub, which, in turn, is connected to the Raspberry Pi. One disk functions as the primary storage, while the other serves as a backup by cloning the contents of the first disk.
Despite the Raspberry Pi having sufficient USB ports for the hard disks, it is not recommended to directly connect them to the Raspberry Pi. This precaution is due to the limited power supply of the Raspberry Pi; connecting too many devices directly may lead to power instabilities.
I’ve also added an Ethernet splitter since my room has only one Ethernet cable, which needs to be shared with my computer. The Sonoff Zigbee 3.0 USB Dongle Plus acts as an antenna for Zigbee signals, allowing me to control my smart devices via Home Assistant.
Lastly, the power strip ensures a stable power supply for the Raspberry Pi, USB hub, and Ethernet splitter. An added advantage is that turning the power strip off completely powers down the entire server.
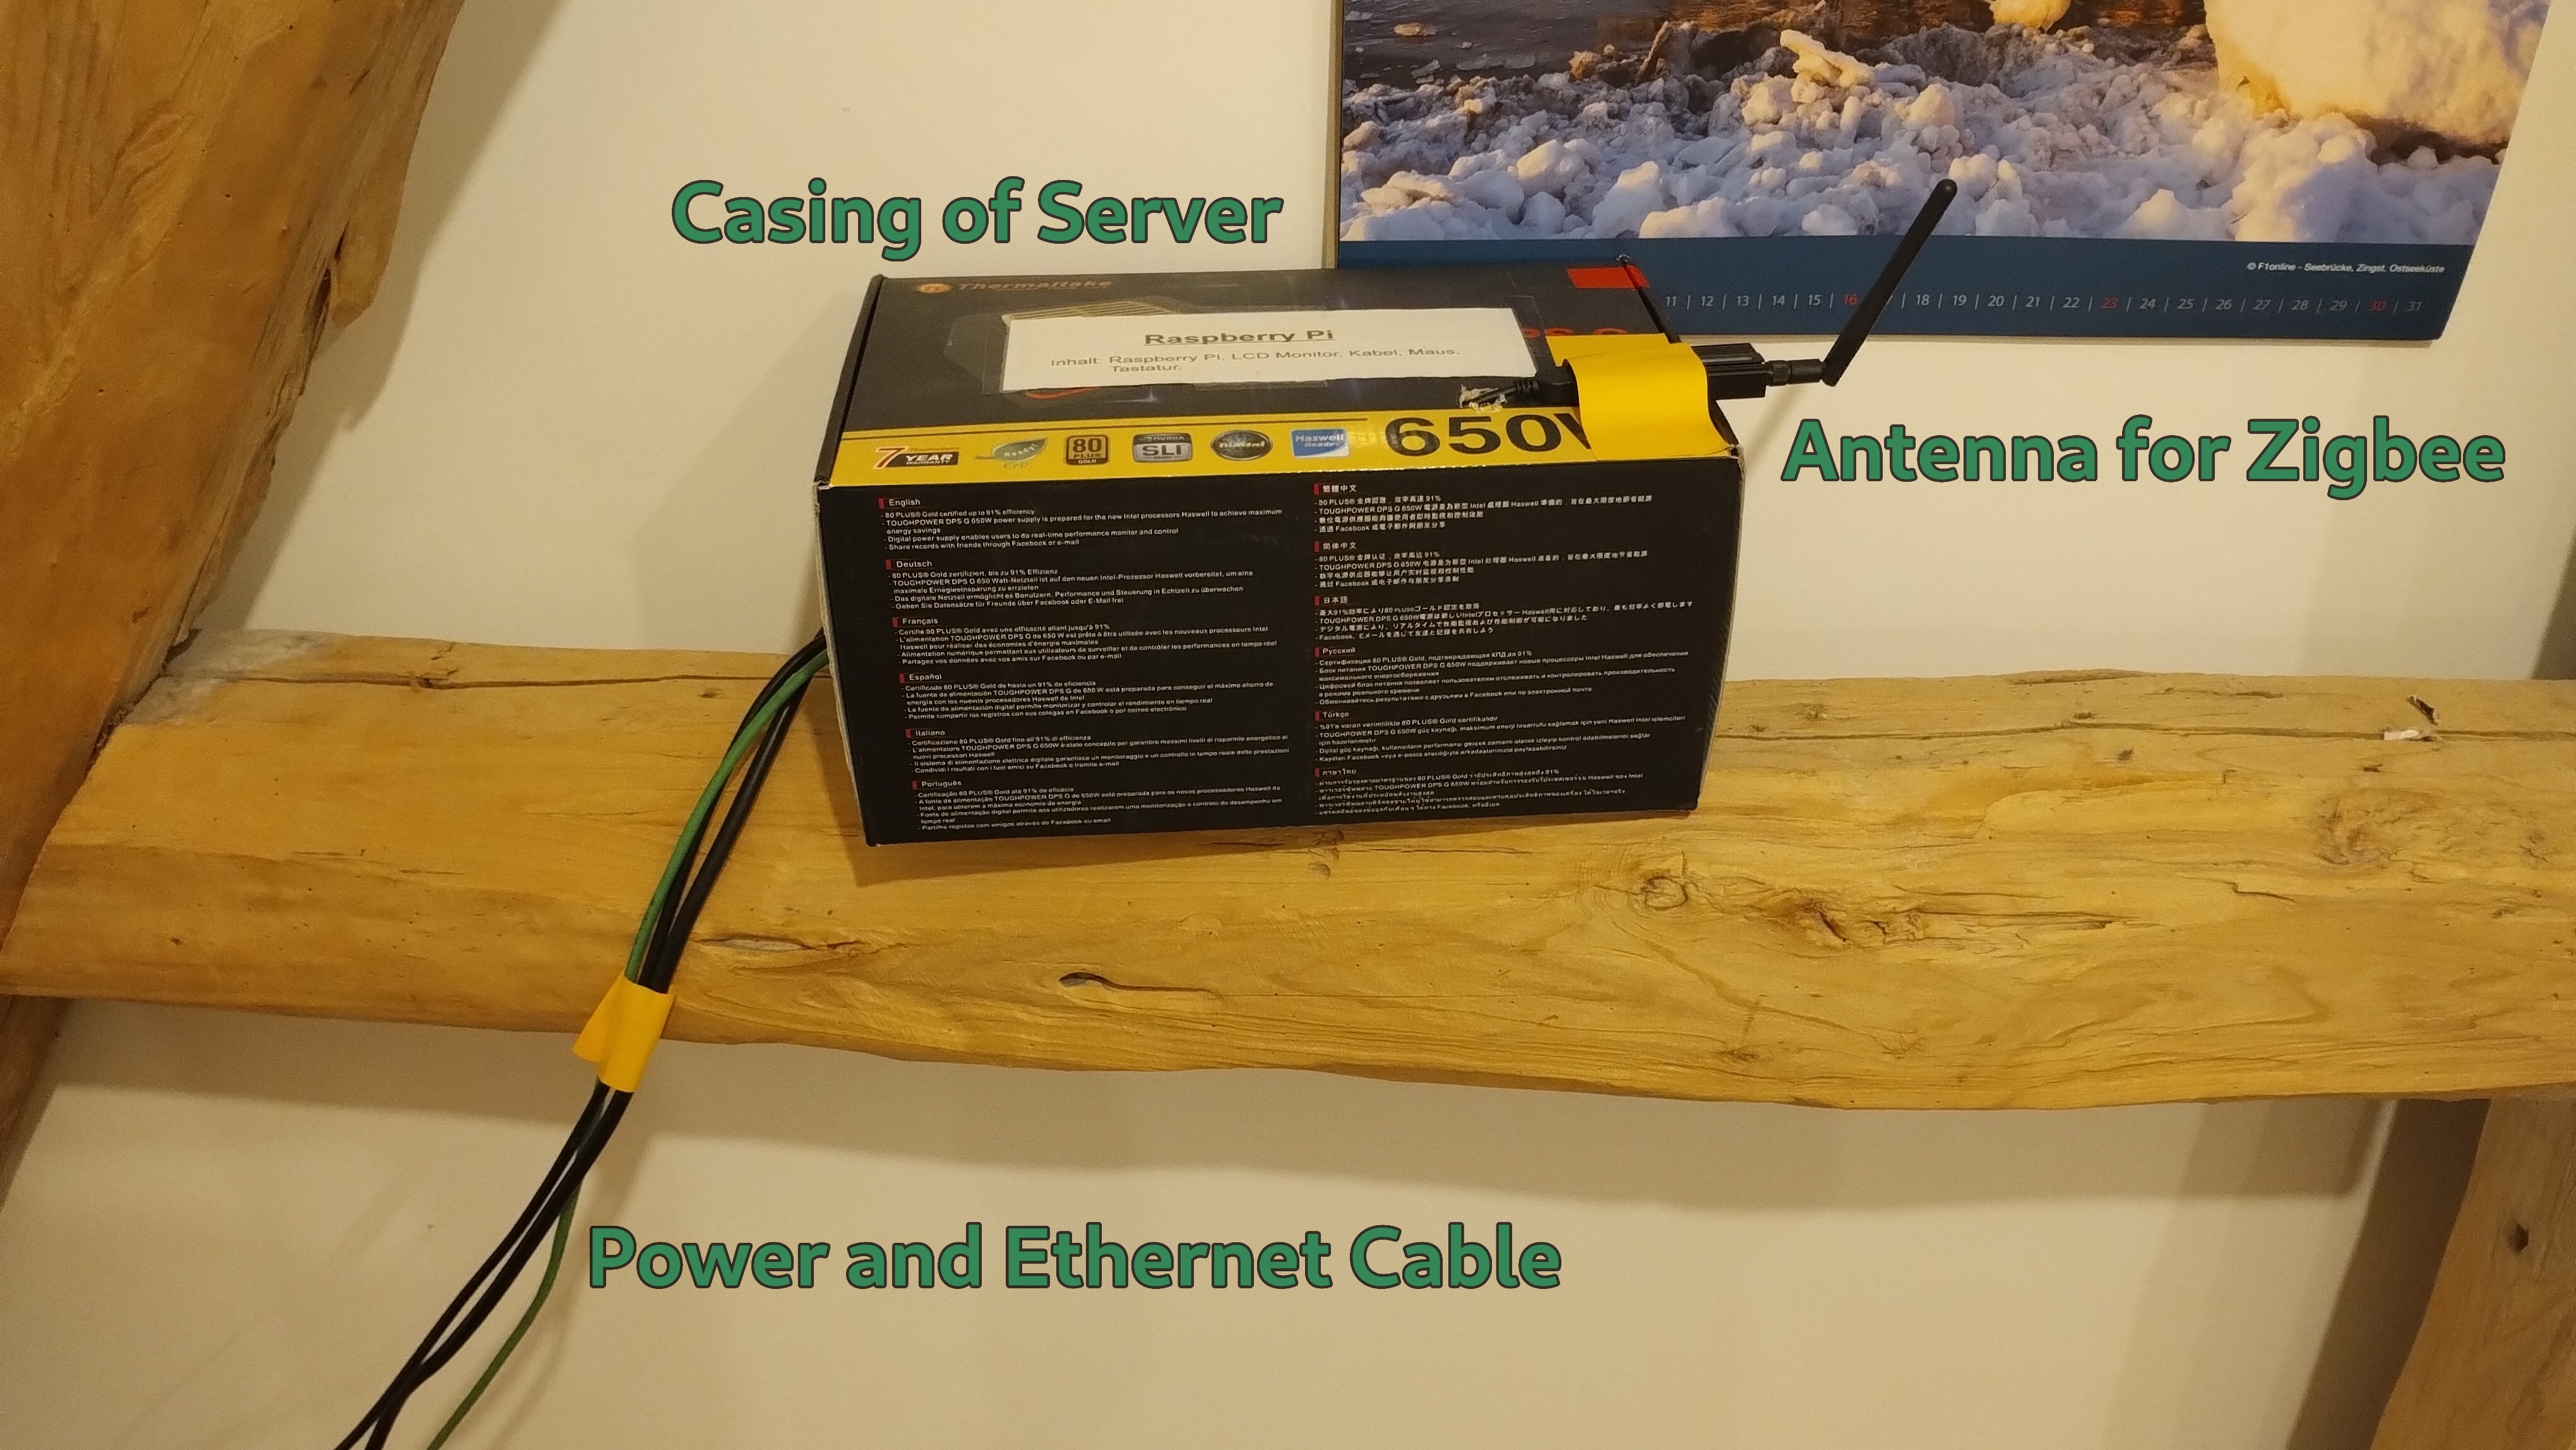
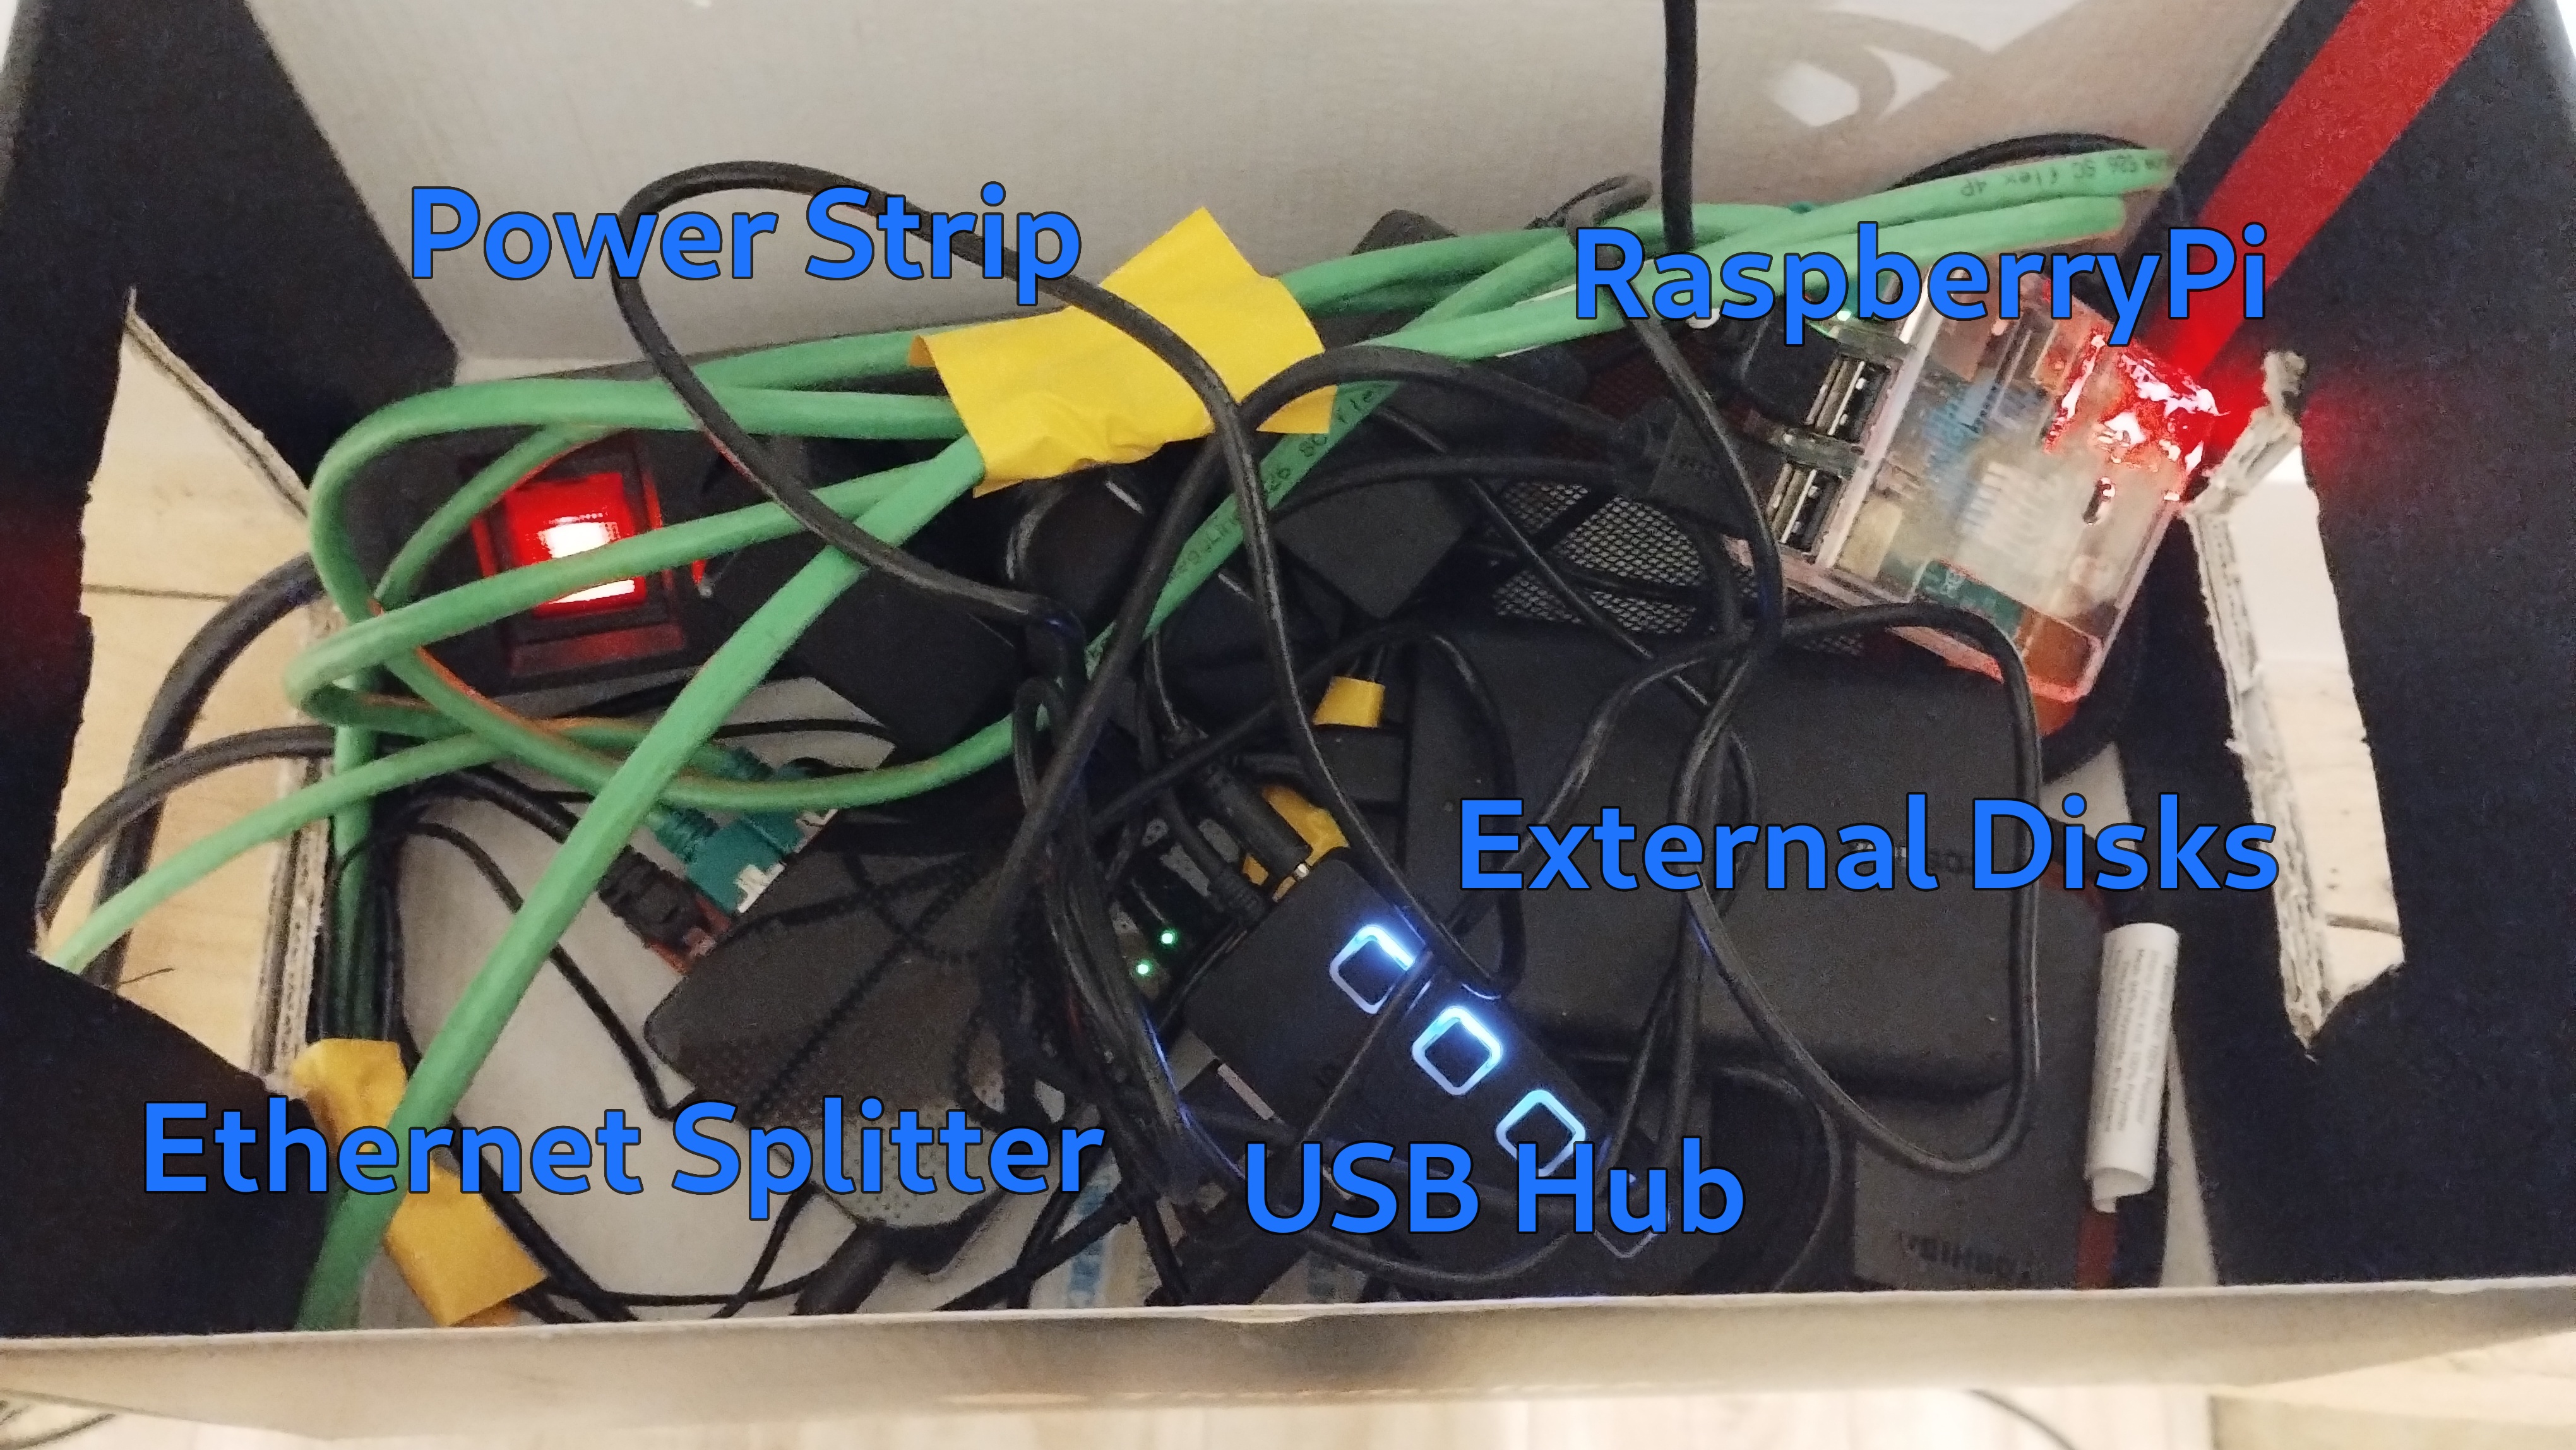
(Don’t judge me for the cable management -_-)
What’s Next?
In the next part of this series, I will show how I installed the Operating System and Docker to my Rasperry Pi 3 and how Docker generally works.
