My Homelab Part 7: UptimeKuma
January 20, 2024 | 450 words | 3min read
Maybe at some point you have encountered a situation where, while running all your current containers, you tried accessing one of your services only to realize that the service is not available because the container exited without your knowledge?
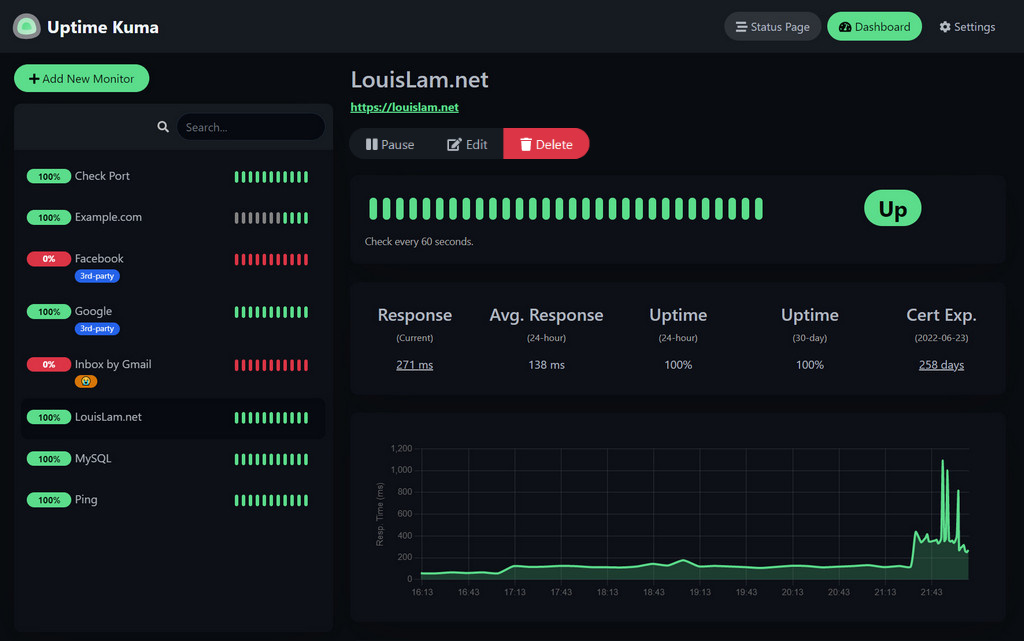
For such Issues, it’s beneficial to have a notification system that can automatically alert you whenever a container exits or is no longer available. To address this need, I use UptimeKuma, an easy-to-use self-hosted monitoring tool. UptimeKuma can monitor uptime over means like HTTP(s)/TCP/Ping/Docker/DNS and notify you via various channels such as Telegram, Discord, Gotify, Slack, Email, and more. Additionally, it provides a user-friendly web interface for managing and adding new monitors.
Installation
To install UptimeKuma, I utilized Docker Compose with the following configuration in the compose file(uptimeKuma-compose.yml):
 1version: '3.8'
 2
 3services:
 4  uptime-kuma:
 5    image: louislam/uptime-kuma:1
 6    container_name: uptime-kuma
 7    volumes:
 8      - /root/uptime-kuma/:/app/data
 9      -  /var/run/docker.sock:/var/run/docker.sock
10    ports:
11      - "3001:3001"  # <Host Port>:<Container Port>
12    restart: unless-stopped
To install and execute the container, I used the following command:
1docker compose -f uptimeKuma-compose.yml up -d
After this, the web UI becomes accessible via the URL:
http://<Server_IP>:UptimeKuma_Port
Configuration
When configuring UptimeKuma, the first step is to change your login data. In order to do so, navigate to Settings -> Security -> Change Password.
To add a new monitor for one of your services, click the add new monitor button in the top right corner.
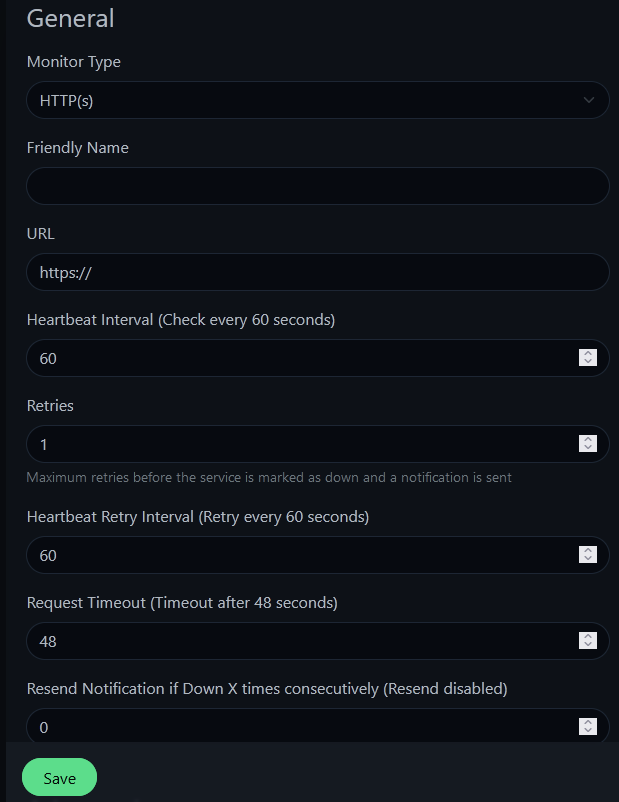
Select the monitor type based on how UptimeKuma should monitor your service. For Instance, for monitoring a Docker container, choose Docker Container. The Friendly Name field is the display name for your monitor.
Set the Container Name/ID to the name or ID of the Docker container you want to monitor. Retrieve this information from your Docker Compose file or using the command docker ps -a. Specify the Docker Host to indicate where UptimeKuma should listen for the Docker container.
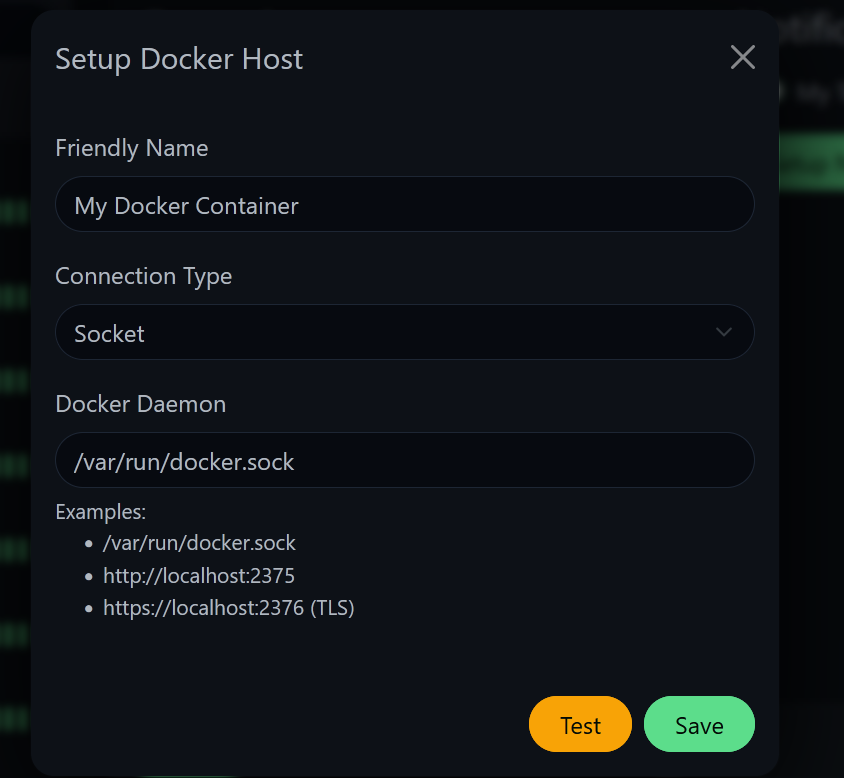
The Heartbeat Interval determines how often UptimeKuma checks your service. After configuring, click save, and the monitor will appear on the UptimeKuma web UI, checking your service periodically.
To receive notifications when the status of your service changes, set up notifications by editing a service monitor and clicking Setup Notification.
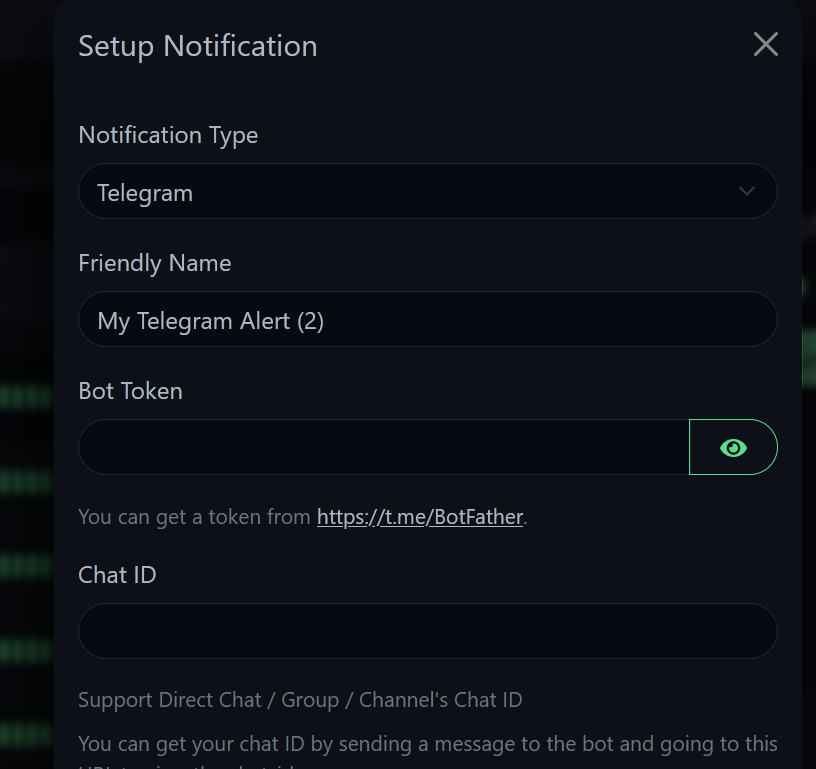
For Telegram notifications, follow these steps:
- Contact the Telegram Bot BotFather to create a new bot.
The
/startcommand, will show you a guide on how to setup a bot. Alternatively, you can follow the steps below. - Use the
/newbotcommand to create a new bot, following BotFather’s guidance.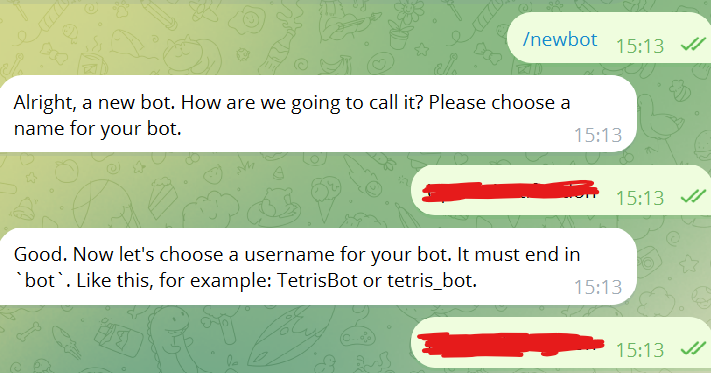
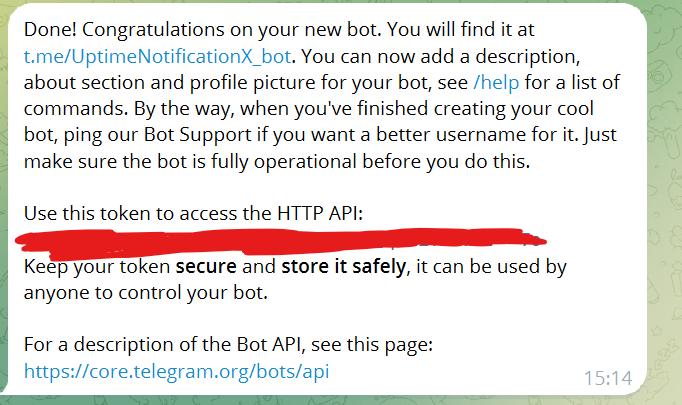
HTTP API token and enter it in UptimeKuma.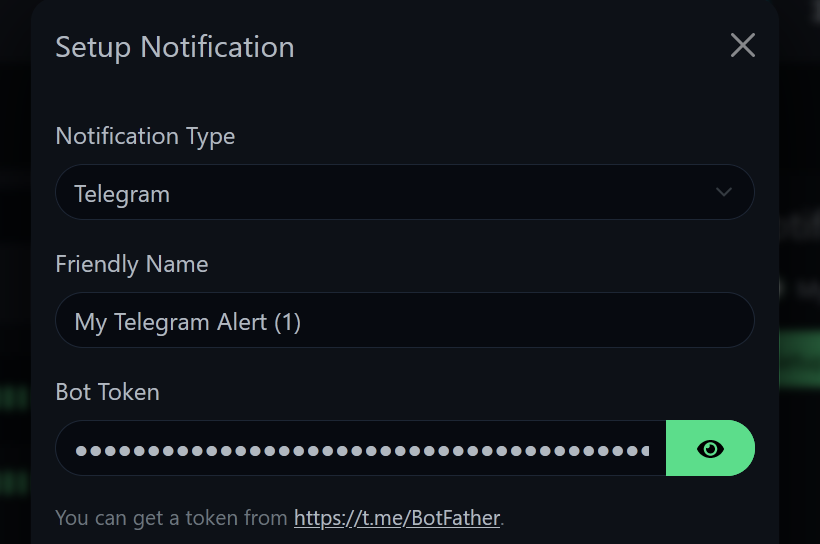
References:
