Restring my Guitar
October 18, 2024 | 1,006 words | 5min read
When I was a child, I regularly went to guitar practice, where I would sit with my guitar teacher and practice a variety of songs. My teacher had expertise in Rumba flamenca songs, which are fast Spanish pieces played fingerstyle rather than with chords. At that age, I was quite musically illiterate (I didn’t really listen to music), and since I had no suggestions for what to play, I mostly learned to play rumbas.
In my adolescence, around the age of 14, I stopped taking guitar lessons and, along with that, I also stopped playing guitar altogether.
Recently, about six months ago, I became more invested in music, deciding to actively listen to different genres, albums, and musicians. With this newfound interest came the desire to pick up my old guitar again. This time, instead of playing rumbas, I wanted to learn more contemporary songs I liked—mainly in the rock and classical genres.
However, by now, the strings on my guitar were more than 10 years old and had significantly degraded. After playing for a while, I decided to restring the guitar, the results I want to show below.
Tools
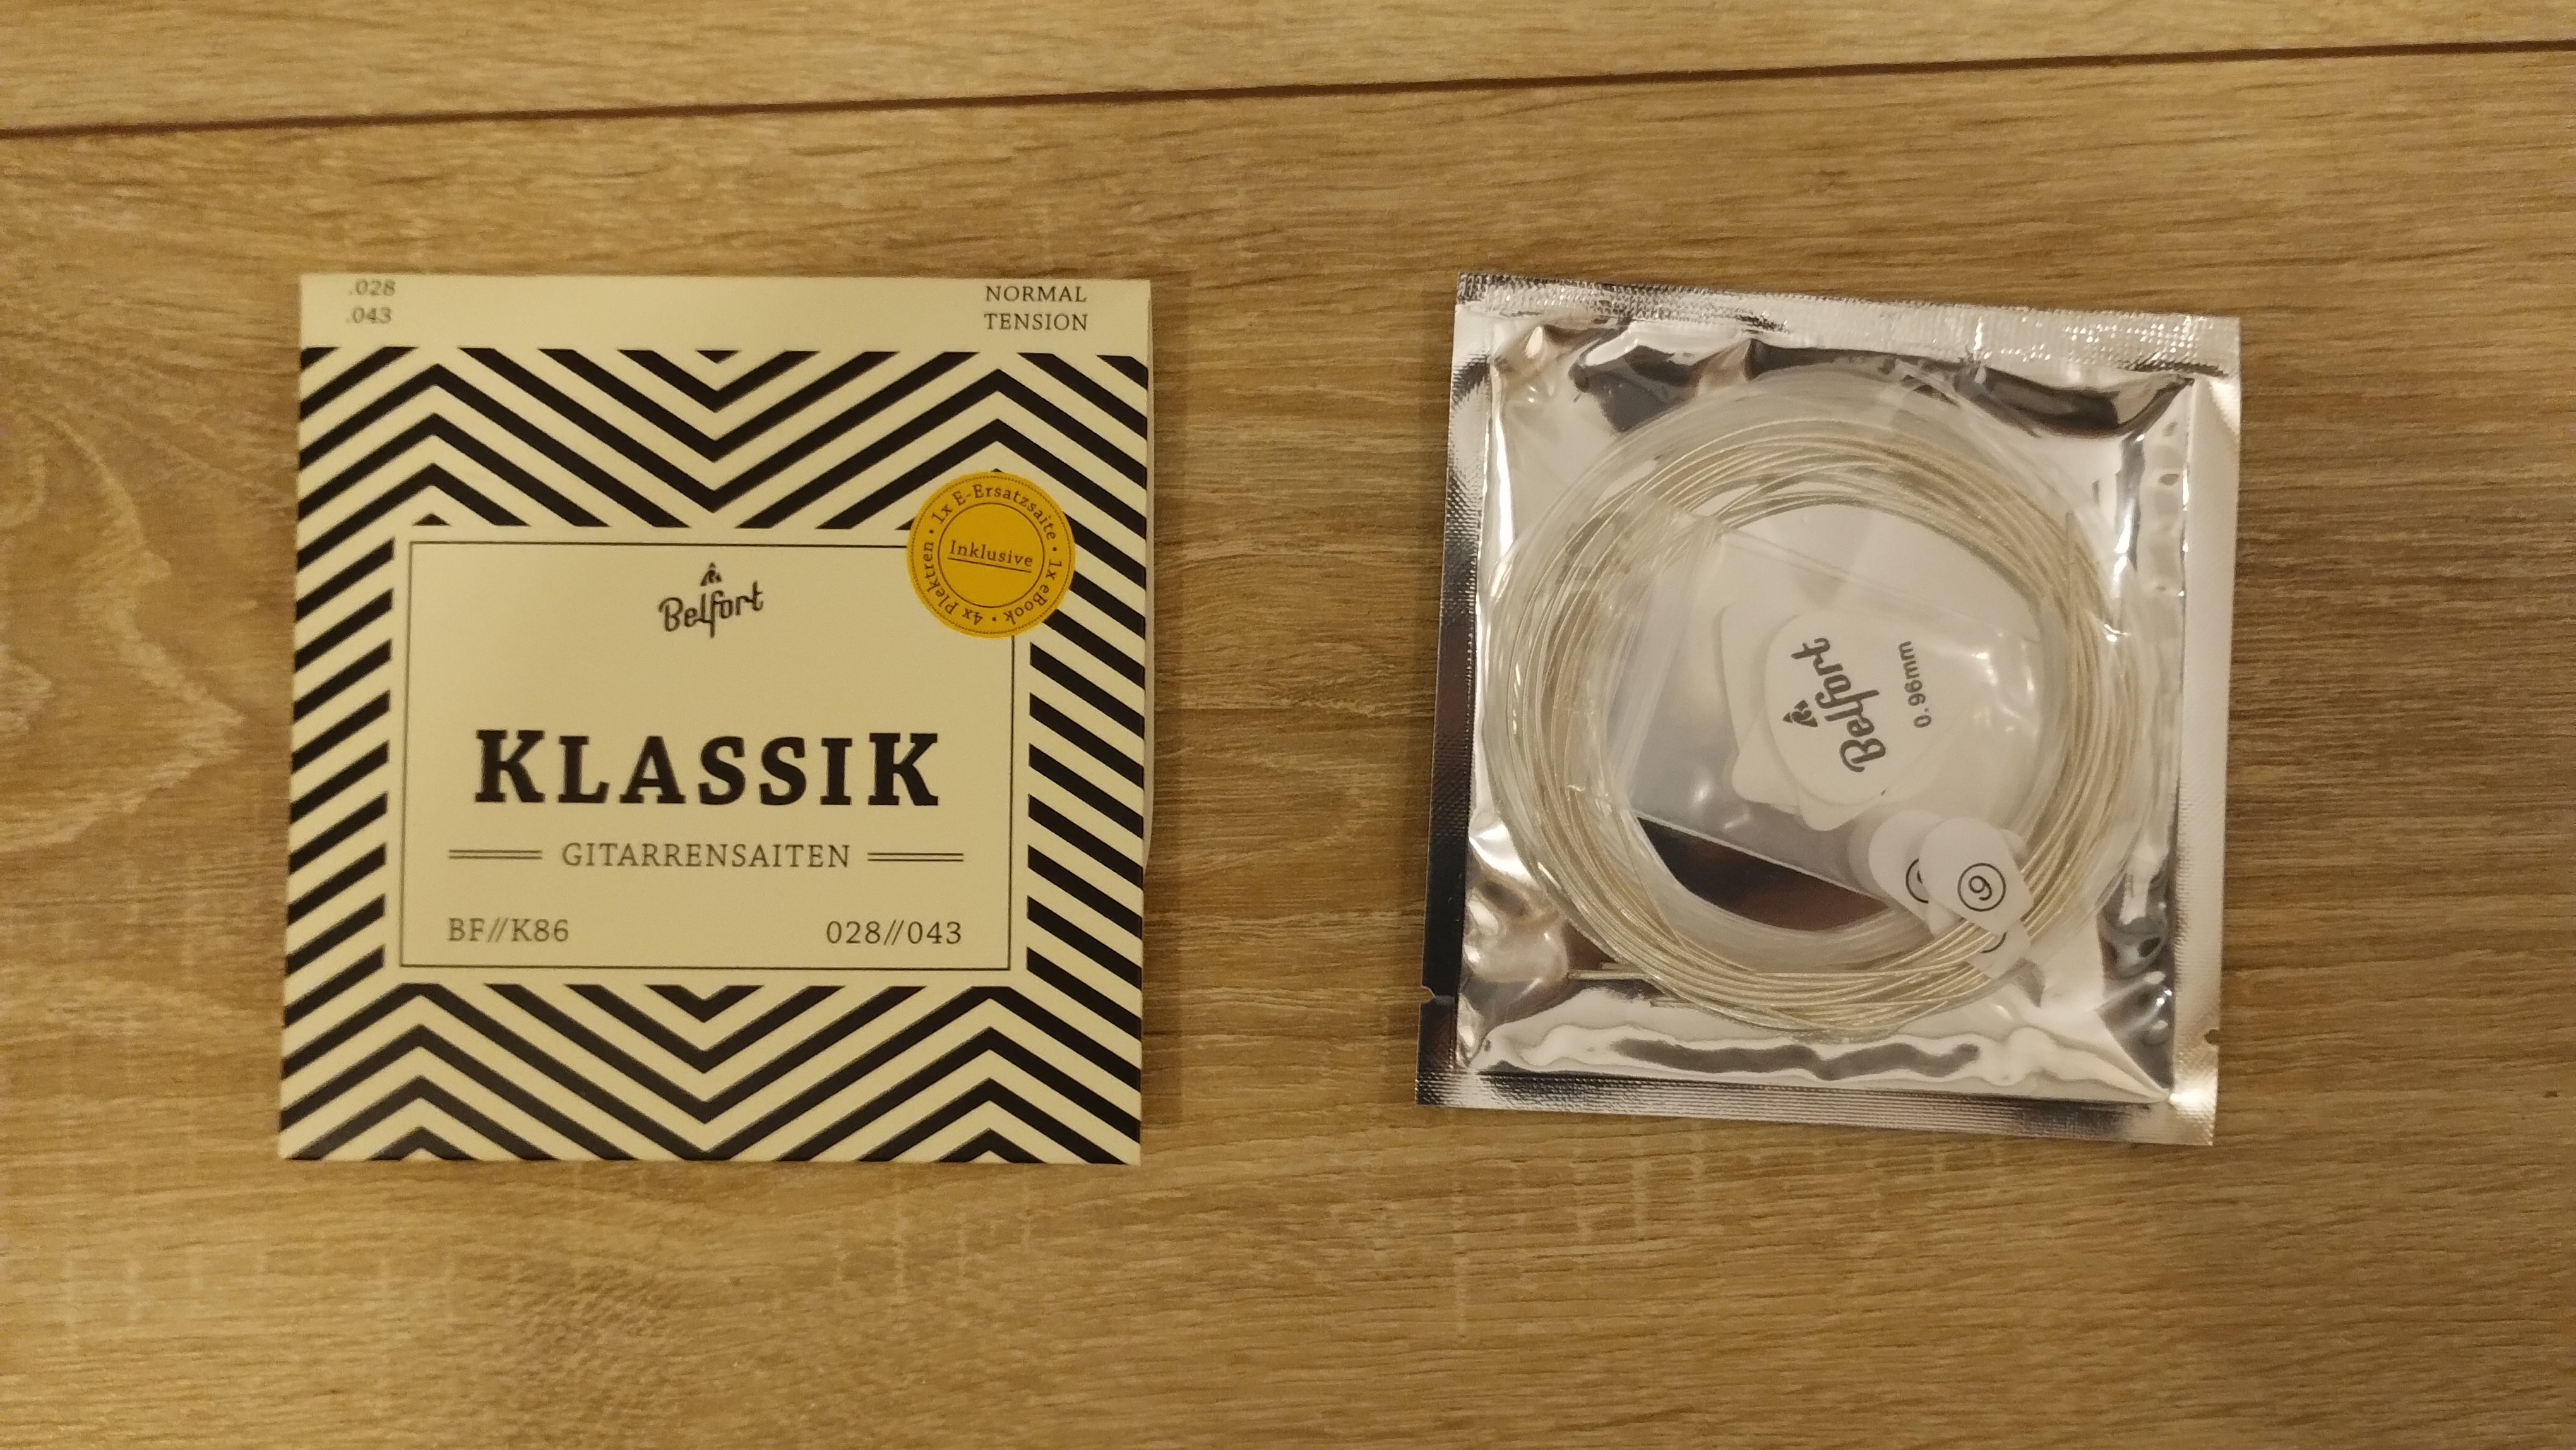
To restring a guitar, you don’t really need a lot of tools. First and foremost, you need replacement strings. It’s important to pay attention to the type of guitar you have (e.g., electric, acoustic, classical). For instance, if you use a classical guitar, you can’t use acoustic strings, as the tension might snap the head of your guitar. Only use guitar strings designed for your guitar type. I don’t have any specific recommendations for string brands, I just used one with a high rating on Amazon.
Next, you’ll need wire cutters. If you don’t have any, you just need something strong enough to cut guitar strings. Another tool I recommend, if you don’t want the restringing process to take forever, is a guitar string winder, which helps to quickly loosen the strings on your guitar.
And that’s all the tools you’ll need for restringing a guitar.

Restringing
There are multiple ways to go about this. For instance, some people recommend changing one string at a time. I’ll show you what worked for me. However, I suggest watching some restringing guides on YouTube, as it’s harder to explain how to tie the knots through text.
I use a classical guitar, so the three lower strings are distinct from the three higher strings. Keep this in mind if you’re using an acoustic guitar and following the steps below.

The first thing you’ll want to do is loosen all the strings on your guitar, using the string winder. After loosening each string, you can remove it. Depending on the knot used to attach the string, you can either loosen the knot or, if it’s too tight, use wire cutters.
Next, you’ll want to put on the new strings. I recommend starting with the lowest bass string. In the string package I bought, the strings are numbered, so you know which string goes where. If the strings aren’t numbered, you can check the thickness— the thickest string is the lowest bass string, and the rest should be arranged in descending order by thickness.
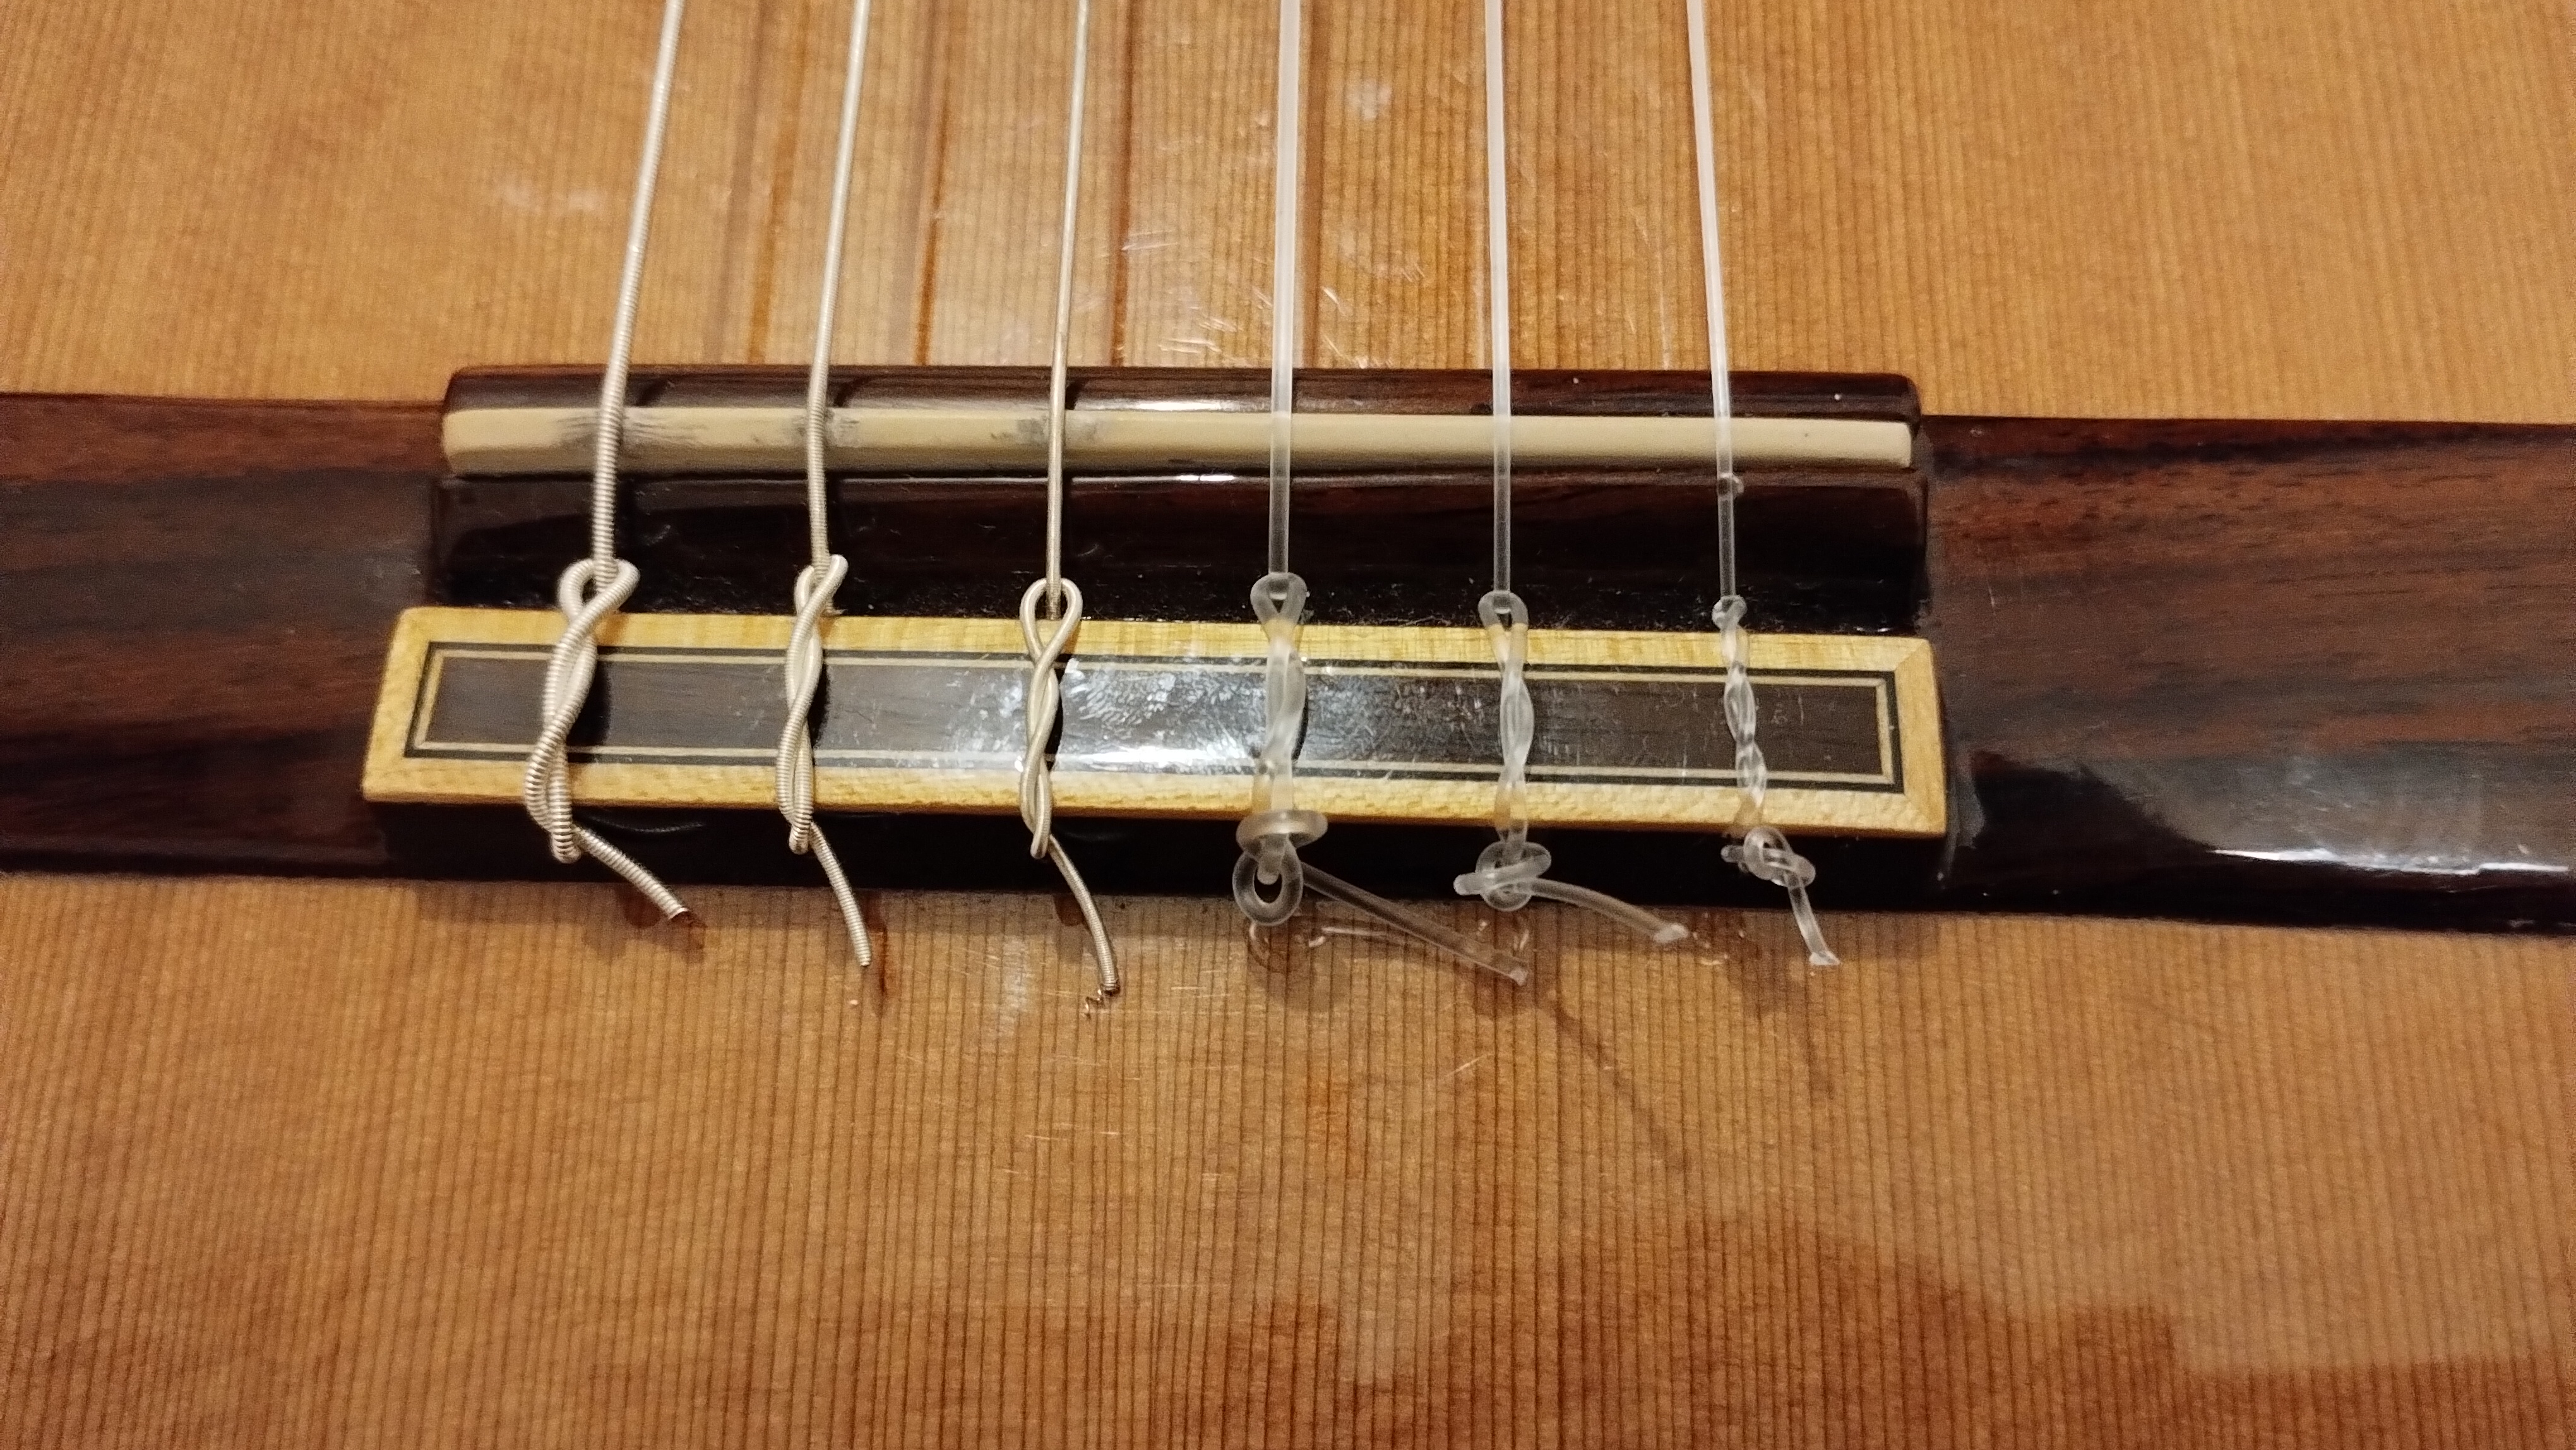
For the bass strings, after threading the string, you’ll want to tie a knot at the bridge. Take the shorter end of the string, pass it under the main string to form a loop, and then thread it through the loop twice.
For the nylon strings (the higher three strings), you’ll follow the same process, but thread them through the loop three times to prevent slipping. I also recommend tying an extra knot at the end of the bridge for added security.
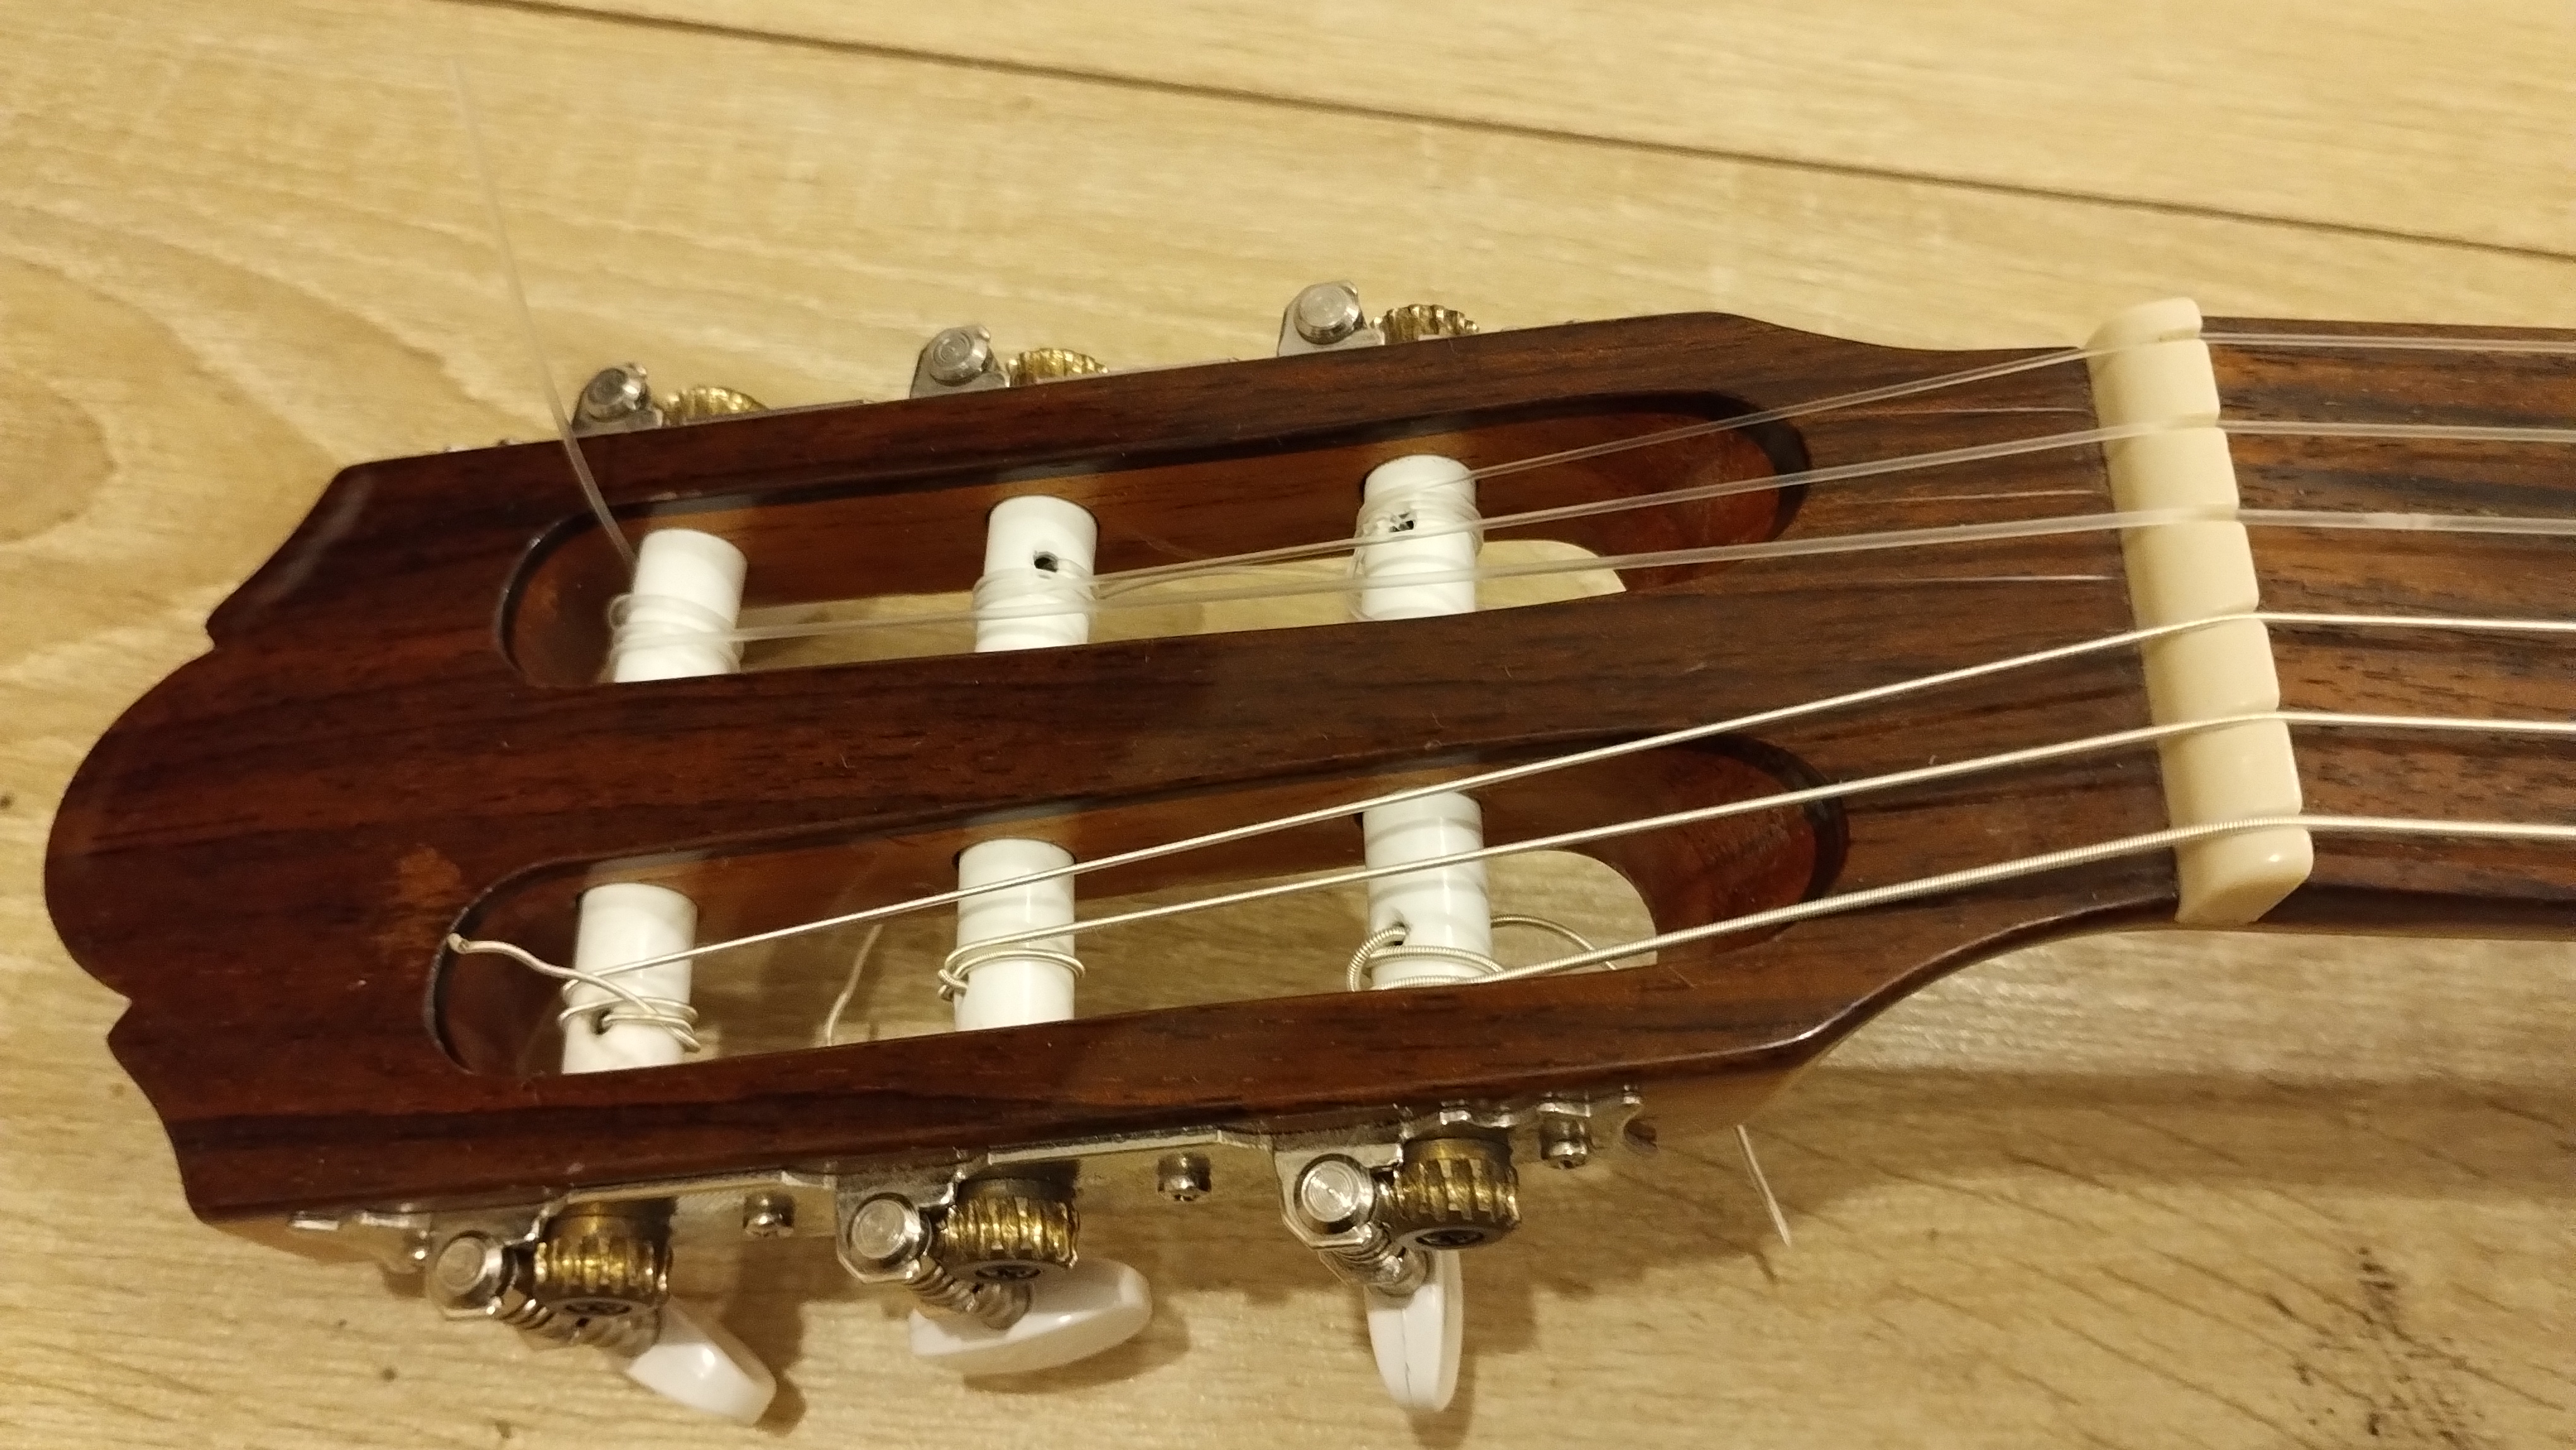
When attaching the strings to the guitar head, make sure the strings don’t cross over each other.
You can see the result of my restringing process below. The knots for the higher strings aren’t perfect, but this was my first time restringing a guitar. Next time, I’ll improve on it.


In total, the entire process took me 1 hour and 30 minutes, but I was fairly slow due to it being my first time and not having a string winder.
Results
To compare the results of restringing the guitar, I played the same song twice: once with the old strings and once with the new strings. The song is Greensleeves, arranged by Jim Paterson. It’s a fairly easy piece, so excuse the minor mistakes I made; I was a bit nervous while playing.
Below is the song played with the old strings:
Below is the song played with the new strings:
It might be a bit hard to discern the differences because I recorded it with my smartphone’s camera and microphone, which aren’t great. However, there is a huge difference, particularly in the sound of the lower three strings; they sound a lot cleaner, less muddied, and more full.
I hope you liked this article, and hopefully it motivated you to restring your guitar. Trust me, if you haven’t changed the strings on your guitar for a while, and they look degraded, changing them will make your guitar sound a lot nicer.
